
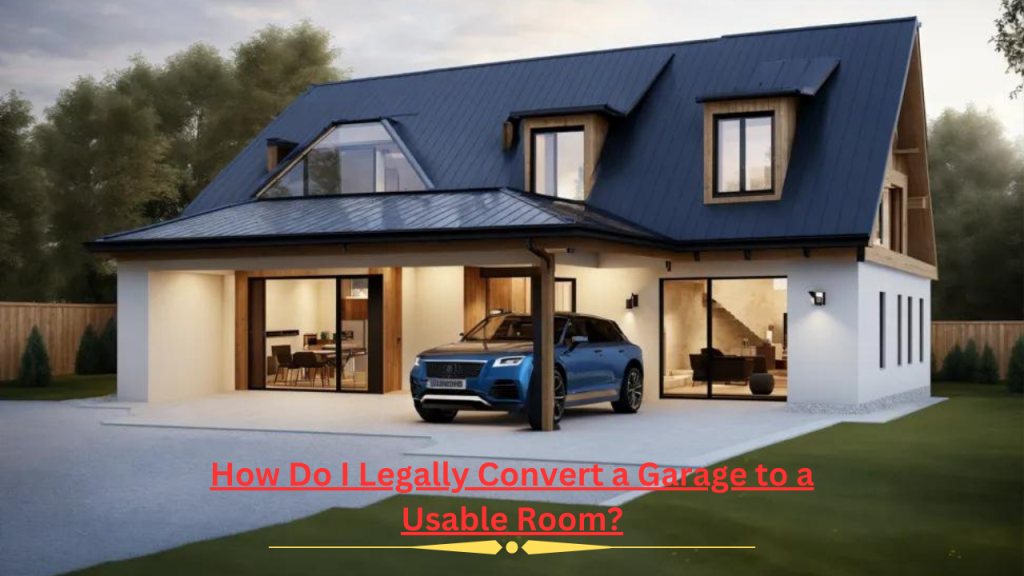
Have you been imagining the possibilities of turn garage into living space while gazing at it? The addition of an extra bedroom, home office, guest accommodation, or playroom from a converted garage could significantly increase the value and functionality of a property. However, overcoming multiple construction rules and laws to ensure the conversion is done properly and lawfully is required.
This comprehensive guide will walk you through the entire procedure, including planning and design, permits, construction, and finishing details. You will have a comprehensive comprehension of what a garage conversion entails and how to do it correctly by the end. To commence, let us proceed!
Planning and Garage Design

The starting point for any renovation project is careful planning and design. Consider your goals, possibilities, and any constraints imposed by space, construction rules, or homeowners association (HOA) laws ahead of time. Proper planning will help streamline the project and ensure a code-compliant, functional finished space.
Define Your Goals

Define your broad aims for turn garage into living space into specific design. Do you require a recreation, bedroom, home office, or guest room? In order to facilitate informed design decisions, it is advisable to contemplate the daily activities that will occur within the area. Define must-have versus nice-to-have qualities. Clarifying your objectives will allow the designer and contractor to focus on satisfying your unique requirements.
Assess the Space

Carefully examine and measure the existing garage space. Ceiling height, door/window placement, electrical outlets, plumbing fittings, structural details, and any other existing characteristics that may influence design possibilities or building processes should all be noted. Be sure to verify the actual square footage, as overhead doors and other structural elements reduce usable space. To serve as a reference during the garage design phase, photograph and draw the present arrangement.
Consider Code Requirements

Contact your local building department early on to learn about any applicable building codes for a garage conversion. Room proportions, egress windows, ventilation, and natural light standards, as well as electrical, plumbing, and fire suppression systems, are all governed by codes. Code compliance is essential for ensuring safety, functioning, and a certificate of occupancy upon completion. To avoid costly garage design later, know the requirements up front.
Review HOA Rules
If you reside in a neighborhood or community regulated by a homeowners association (HOA), get a copy of the covenants, conditions, and restrictions (CC&Rs) to go over the requirements for garage conversions and exterior renovations. While HOAs do not have the authority to overturn construction codes, they may have extra aesthetic or usage standards that must be met. Get written approval for any changes visible from the outside, like new windows or siding, to avoid issues down the road.
Brainstorm Design Options
After obtaining your objectives, space evaluation, and code comprehension, it is now appropriate to engage in a process of ideation regarding design alternatives. Considering the current configuration, architectural design, and regulatory standards, in what ways might the area be operationally viable? Draw rough floorplans showing different configurations for plumbing fixtures, egress windows, wall layouts, and more. Think about natural light, spatial fluidity, and future resale value. Gather feedback from family members to help you narrow down your alternatives.
Consult a Design Professional
It is strongly advised to involve a licensed architect or designer in the turn garage into living space. A pro can help refine your vision within code requirements, draw scaled, detailed plans, and offer structural evaluation and expertise to optimize space and building methods. They can also help navigate the permit process. Expect to pay $2,000-$5,000 on average for design/plans depending on scope and location. The investment results in permitted, buildable plans to guide construction smoothly and properly.
Finalize Plans and Permits
Once you’ve decided on a final garage design, an architect or designer will complete the entire building plans and documentation required for permitting. For plan review, submit blueprints, specification papers for all materials and fittings, and a completed permit application to your local building authority. Allow four to six weeks for evaluation and approval. Permits are charged as a percentage of the project’s value, and inspections are necessary at various stages to verify code compliance. Only begin work until all permits have been obtained.
Structural Evaluation
Before demolition or construction begins, have a licensed engineer or building inspector evaluate the existing garage structure to ensure it can properly support the additional loads of a living space conversion. It is essential that load-bearing beams, walls, floors, and foundations are all structurally solid. Any strengthening, such as adding posts or replacing deteriorating wood sections, can be identified by the professional. Early reinforcement of the structure reduces problems later on.
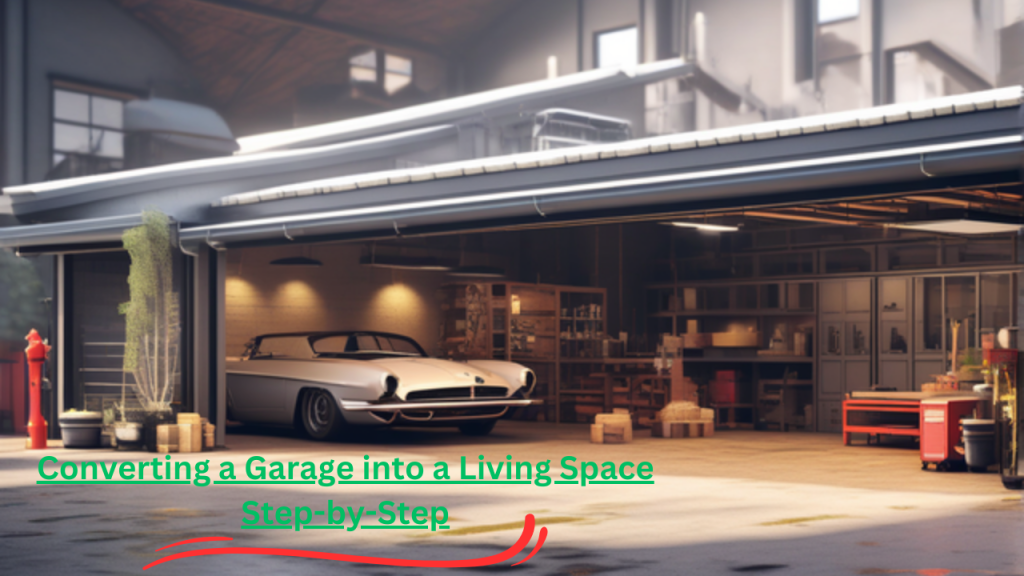
Construction Phase

With approved plans and permits in hand, it’s time to begin the construction process. Proper sequencing is critical to avoid rework. Here are the typical steps:
Insulation and Air Sealing
To fulfill local energy code standards, add rigid foam sheathing and spray foam insulation to external walls and attic/ceiling.
Caulk, weatherstrip, and insulate any windows, doors, external electrical boxes, and any other air gaps or penetrations.
If living space is above, properly ventilate and insulate the crawlspace or basement per code.
Framing
As needed, remove non-load bearing internal walls.
Frame new stud walls, headers, and partition walls as described on drawings utilizing wood only if in contact with concrete.
Any extra headers, beams, or posts should be properly sized and installed to bear the higher loads recommended by the structural engineer.
If you’re increasing the roof pitch or adding a new roof section, use pre-framed roof trusses.
Frame in window, door rough openings to finished sizes.
Mechanical and Electrical Rough-In
Run new electrical wiring to code for outlets, switches and any lighting fixtures.
Install junction boxes and make splices/connections in accessible locations.
Runoff and ventilation for the HVAC system; ductwork installation, if required; new furnace/air conditioning unit.
Connect plumbing fixture supply and discharge lines to the existing main sewer and water lines.
Insulation and Drywall
Insulate exterior walls, the attic, and ceilings to code prior to installing drywall.
Hang, tape and finish drywall on ceilings and walls using minimum 1/2″ thick panels.
Sand and skim coat primer for smooth finish prior to painting.
Decking and Roofing

When modifying the floor material or increasing the finished floor height, it becomes necessary to implement fresh subflooring and underlayment.
Install new asphalt shingles or another roofing material in accordance with the schematics if the roof is being raised.
Finish Work
-Install trim, doors, windows, cabinets, paint and flooring.
-Finish plumbing fixtures, lighting fixtures, electrical devices.
-Install HVAC equipment, program thermostat.
Inspections and Certification
Before going on to the next step, progress and final inspections are necessary at key stages to ensure code compliance. Once completed, the final occupancy inspection grants permission to utilize and move into the newly renovated area. Request occupancy certification from your jurisdiction.
Finishing Touches In Turn Garage Into Living Space
After the checks have been completed and the CO has been received, it is time to add finishing touches such as landscaping, outside lighting, mailbox numbers, and addressing. Bring in any furniture and décor to complete your design. Consider an open house to show off the transformed space.
Budgeting for the Project

The total costs to complete a garage conversion can vary significantly based on the scope of work, building materials, quality of finishes selected, and your local labor rates. To provide you a basic project budget, below is an estimate of usual costs:
Design/Plans: $2,000-5,000
Permits/Fees: 1-3% of total project cost
Demolition: $1,000-3,000
Structural Reinforcement: $2,000-8,000
Framing/Carpentry: $5,000-15,000
Insulation/Air Sealing: $1,500-3,000
Electrical: $3,000-6,000
Plumbing: $2,000-5,000
HVAC: $3,000-8,000
Drywall/Mudding: $3,000-6,000
Trim/Finish Carpentry: $3,000-6,000
Roof/Decking/Waterproofing: $3,000-8,000
Flooring: $2,000-5,000
Interior Doors: $1,000-2,000
Windows: $1,000-3,000
Painting: $1,500-3,000
Appliances/Fixtures: $2,000-5,000
Contingency Fund: 10-15% of subtotal
Total Average Cost: $35,000-75,000
Keep in mind prices can be lower if you self-perform some work or higher if hiring out everything. Quality of finishes also impacts total budget. Get competitive quotes from 3 licensed contractors to help refine your budget.
For more detailed and informational artiles visit

GOOACC 238Pcs Trim Removal Tool, Auto Push Pin Bumper Retainer Clip Set Fastener Terminal Remover Tool Adhesive Cable Clips Pry Kit Car Panel Radio Removal Auto Clip Pliers
$13.21 (as of April 25, 2024 18:17 GMT +00:00 - More infoProduct prices and availability are accurate as of the date/time indicated and are subject to change. Any price and availability information displayed on [relevant Amazon Site(s), as applicable] at the time of purchase will apply to the purchase of this product.)